AURACAST AUDIO RECEIVER · RC240

Plug in. Turn on. Hear Auracast.

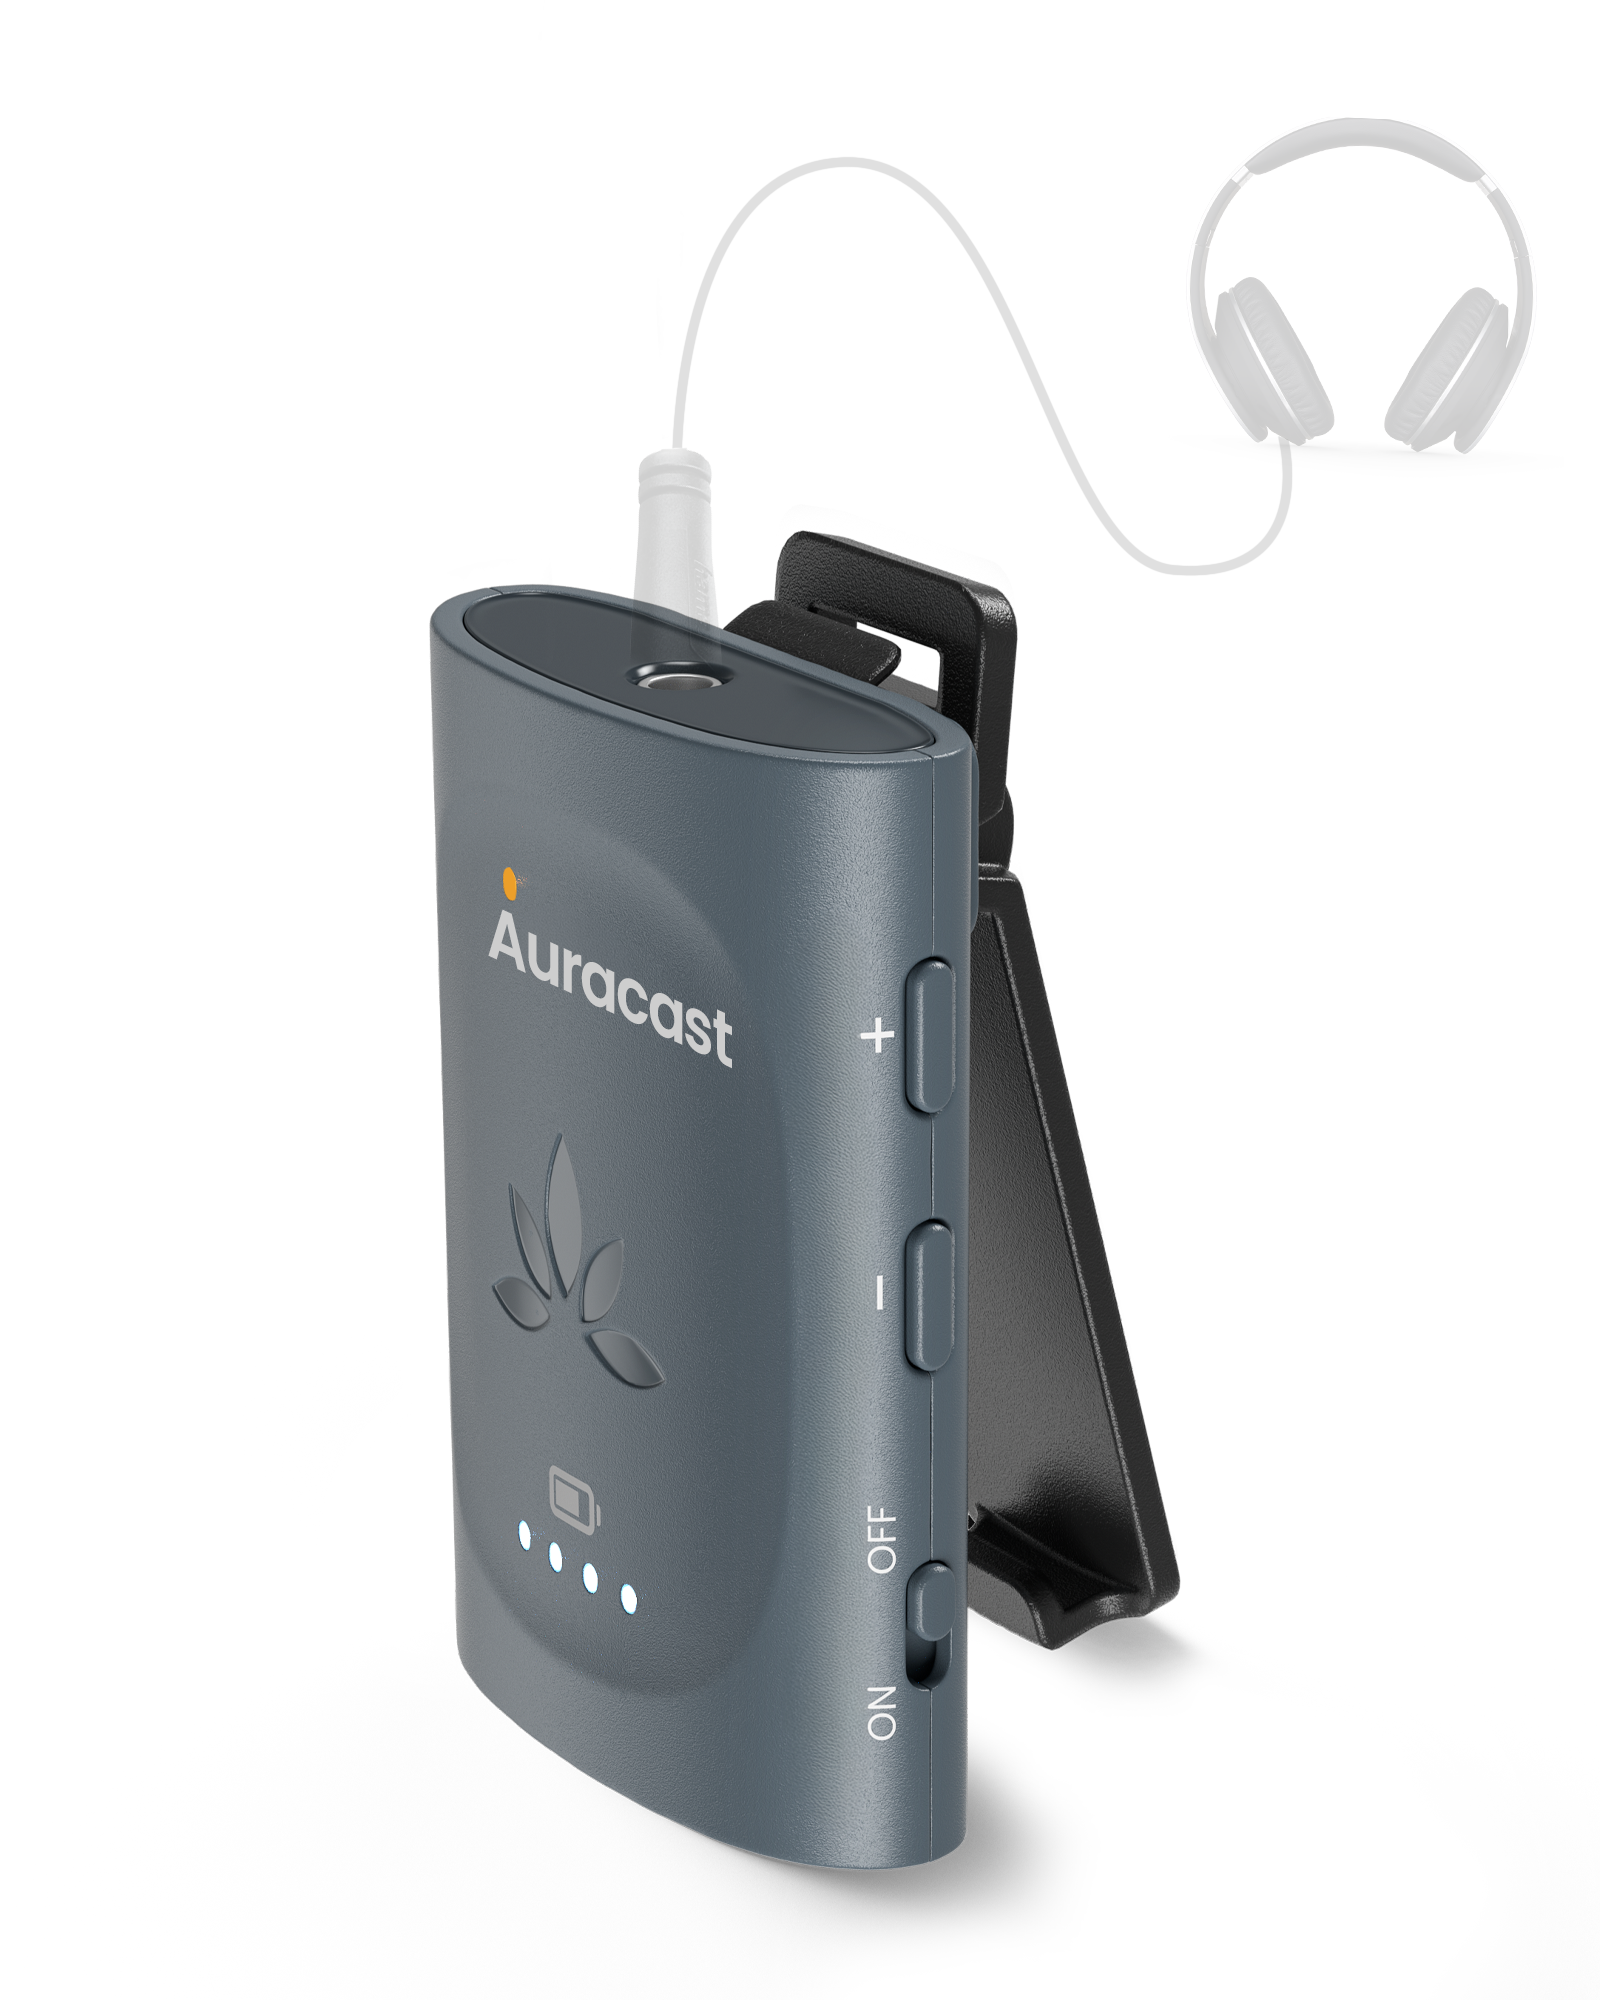
AuraClip lets wired headphones or a neckloop hear nearby open Auracast broadcasts—automatically, with no app or Bluetooth pairing.

AuraClip RC240 receiver with wired headphones

SETUP

Start listening in four steps.

First, make sure an open Auracast broadcast is available nearby.

  1. Plug in your headphones.Fully insert a compatible 3.5 mm audio device into AuraClip’s headphone jack.
  2. Check for an open broadcast.Make sure a joinable open Auracast broadcast is available nearby.
  3. Turn on AuraClip.Slide the switch to ON.ORANGE · BLINKINGScanning for an open broadcast
  4. Start listening.ORANGE · SOLIDJoined successfully
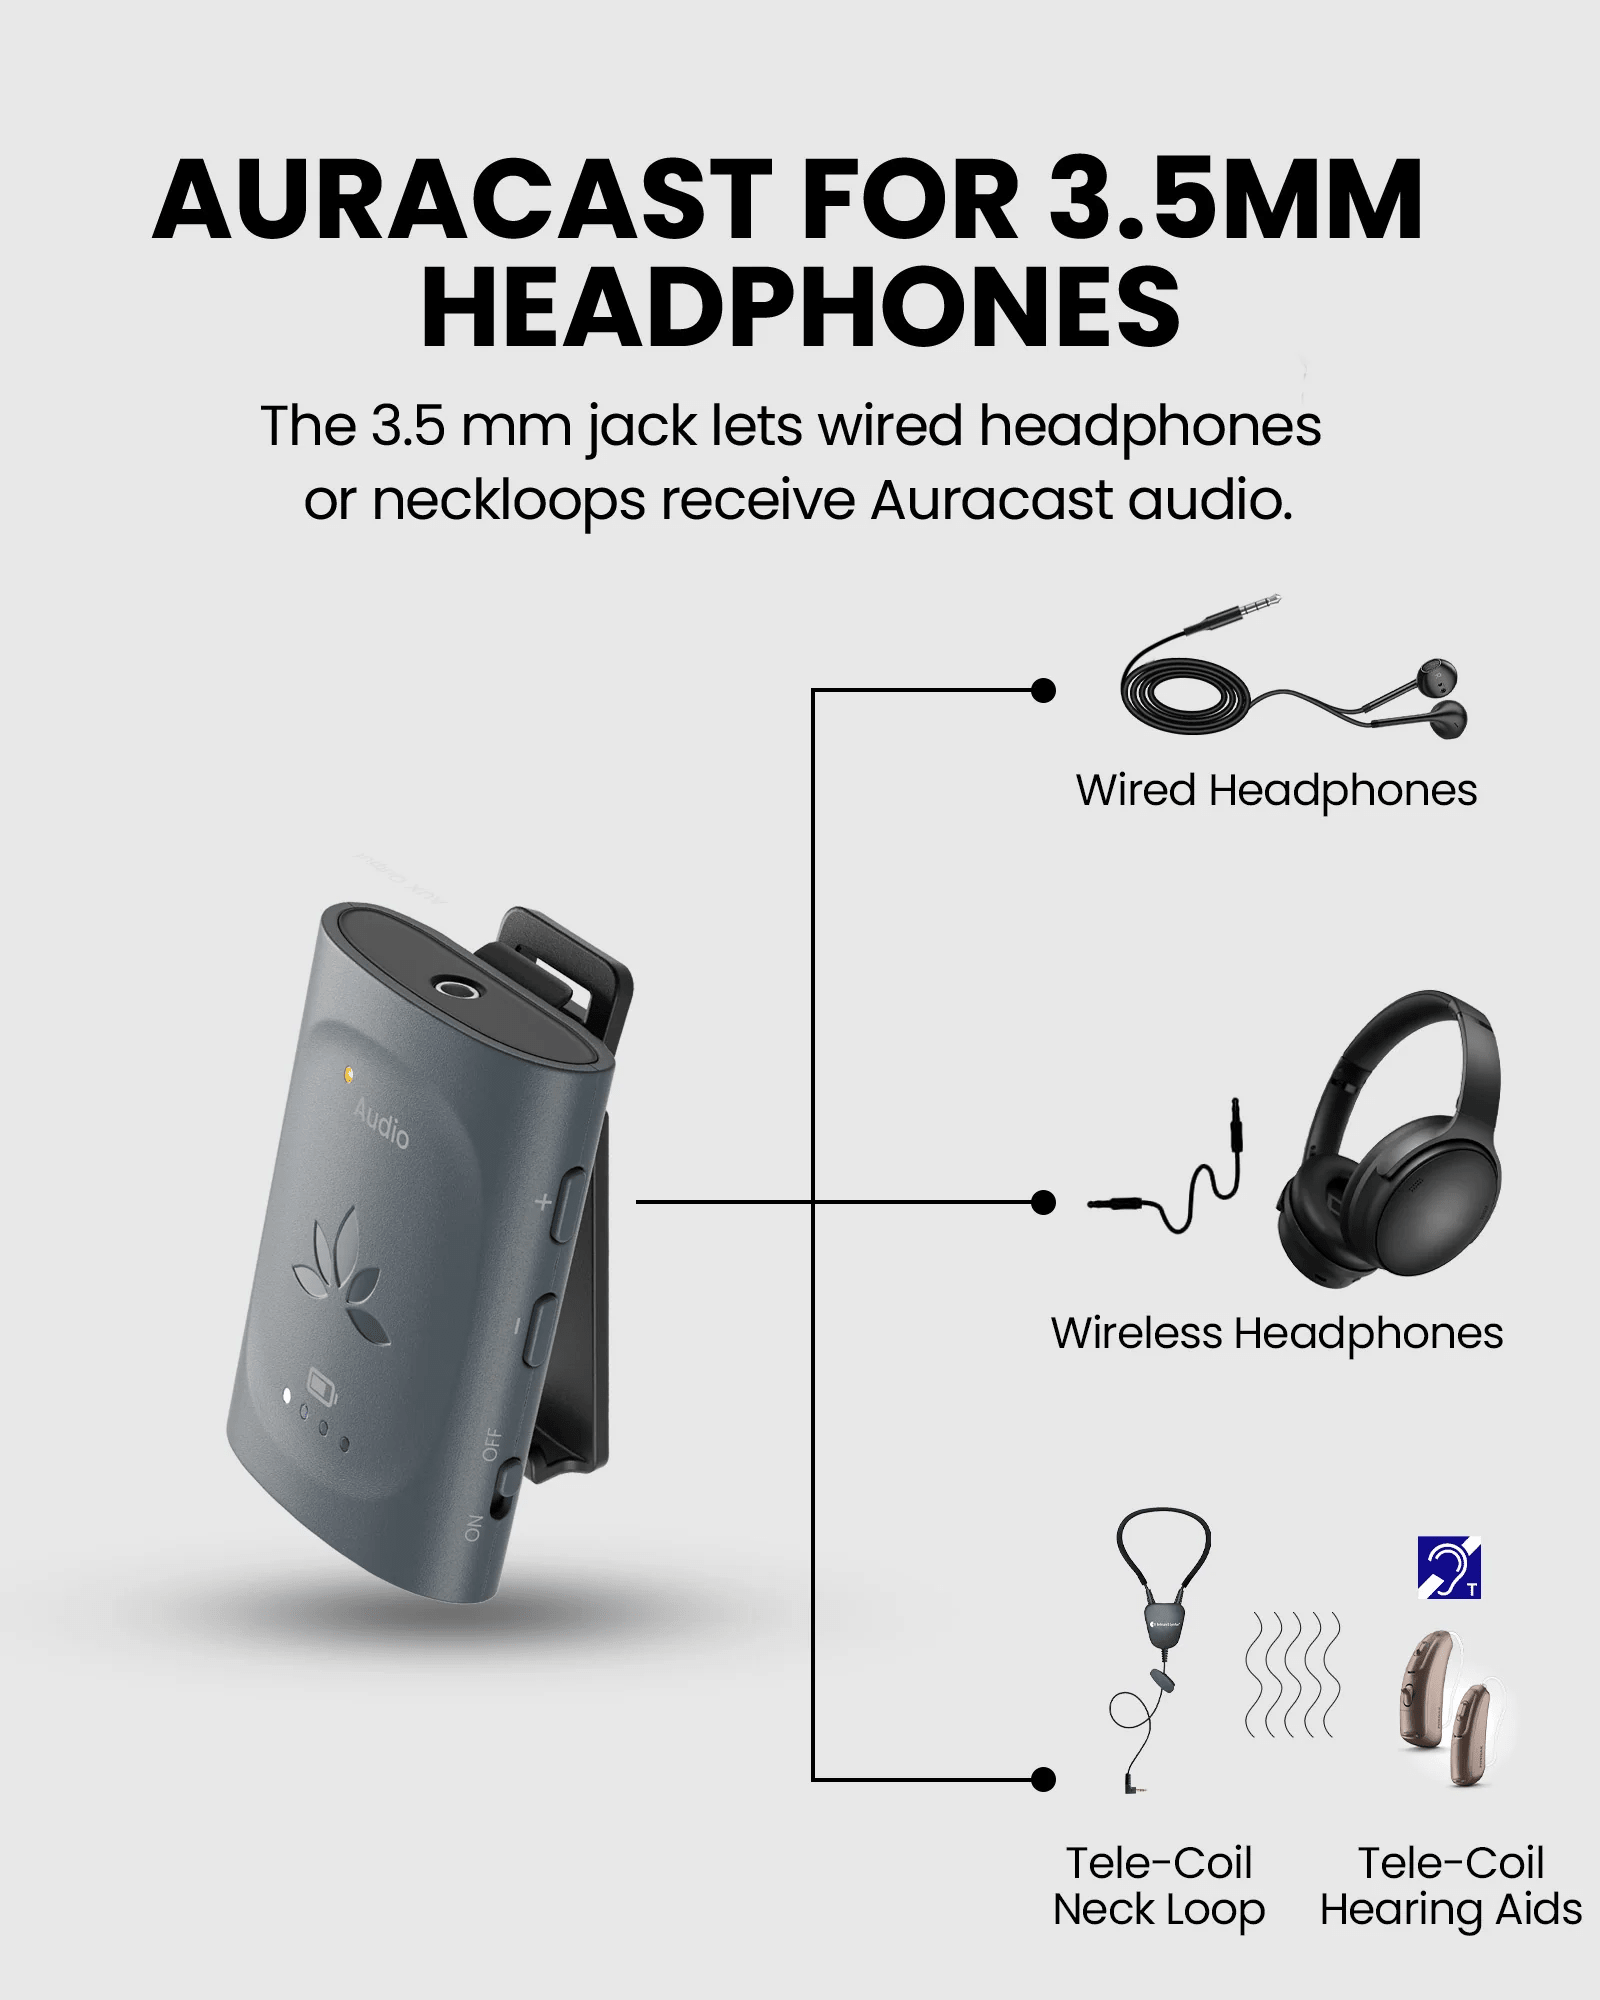
Examples of compatible 3.5 mm devices: wired headphones, headphones connected through a 3.5 mm adapter, and a telecoil neckloop for hearing aids
Connect through AuraClip’s 3.5 mm jack: wired headphones, a compatible headphone adapter, or a telecoil neckloop.

Encrypted broadcasts: Not supported yet. A future app will add support for joining password-protected broadcasts.

Next: Adjust volume →

ADJUST VOLUME

Set a comfortable listening level.

Use AuraClip’s side buttons, or the controls on your connected headphones.

Arrows pointing to AuraClip’s plus and minus volume buttons
The + and − arrows point to AuraClip’s volume buttons.

On AuraClip

Press + to raise the volume. Press − to lower it.

On your headphones

If your headphones have volume controls, you can use those instead.

Ready: the audio is clear and comfortable.

Next: Switch broadcasts →

SWITCH BROADCAST

Switch between up to 3 broadcasts—or rescan.

During each power-on session, AuraClip remembers up to three nearby broadcasts.
Switch within the current 3 broadcasts

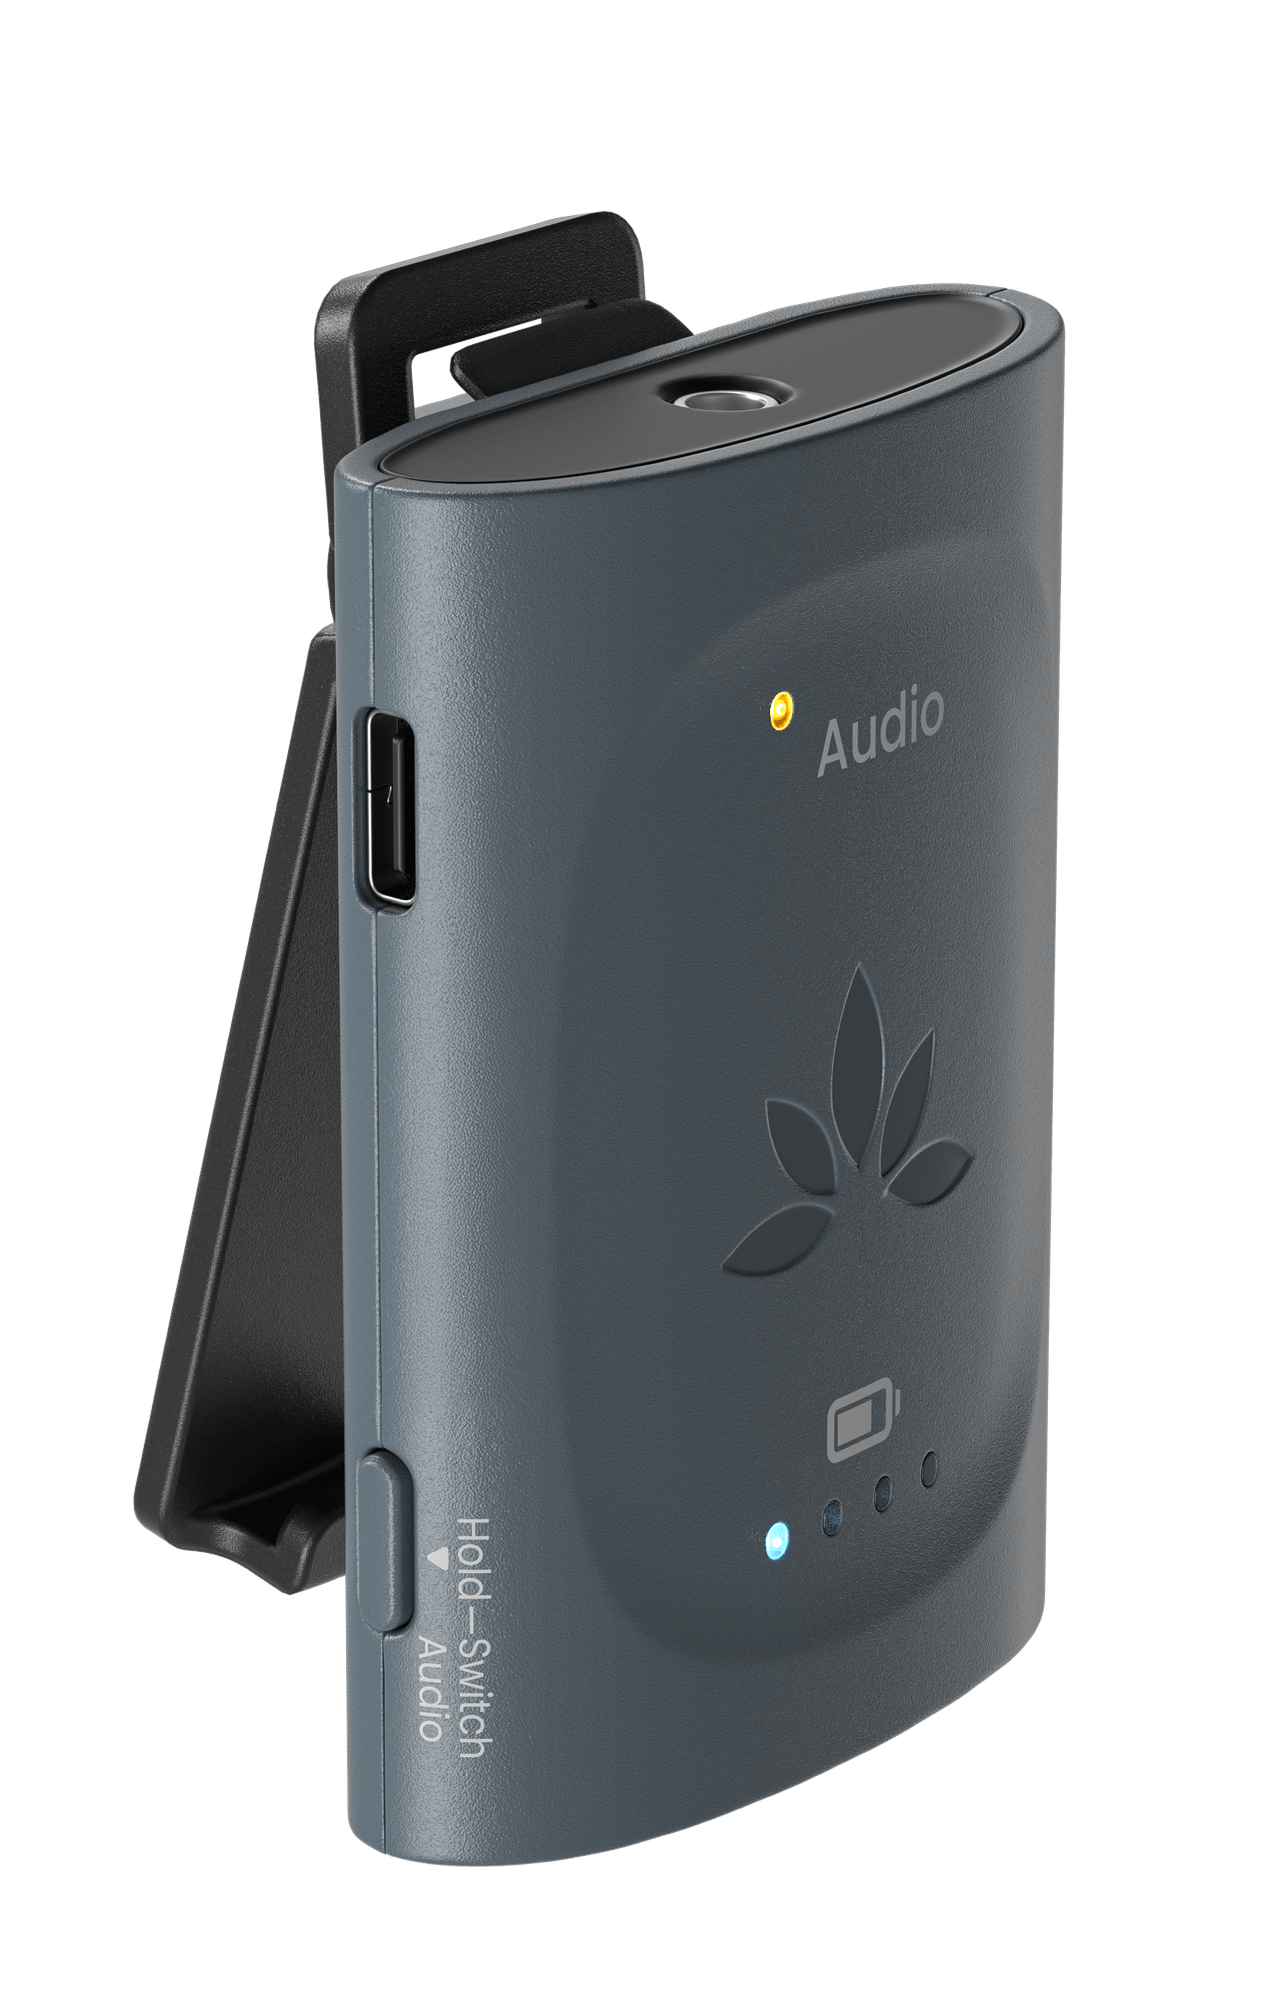
Switch AudioAuraClip with the Switch Audio button and printed label visible on its side
  1. Make sure more than one Auracast broadcast is active and in range.
  2. Hold Switch Audio for 3 seconds.
  3. The orange LED blinks while switching and stays solid when complete.
  4. Repeat to move to the next remembered broadcast.

Get a broadcast outside the current 3 broadcasts

  1. Move into the new broadcast's normal listening area; you do not need to reach the transmitter itself.
  2. Turn AuraClip off, then on again.
  3. AuraClip rescans and automatically joins the strongest open broadcast it can receive.
  4. If it joins the wrong one, move closer to the intended listening zone and restart again.

FIX A PROBLEM

Start with what you see and hear.

No sound, but the orange LED is solid

Recognition: AuraClip has joined a broadcast.

Action: fully insert the 3.5 mm headphones, raise AuraClip volume, then switch to another active broadcast.

Expected: audio begins through the headphones. If not, restart AuraClip and test another wired headset.

The orange LED keeps blinking

Recognition: AuraClip has not joined a broadcast.

Action: confirm a joinable open broadcast is available nearby, remain within its coverage area and restart AuraClip.

Expected: the orange LED becomes solid. If not, confirm that the available broadcast is open rather than encrypted.

I cannot join a password-protected broadcast

AuraClip currently joins open broadcasts only. Support for joining encrypted broadcasts is planned through a future app. For now, use an available open broadcast.

Switching does not change the audio

Switching works only when multiple broadcasts are active and in range. For a broadcast outside the current remembered three, turn AuraClip off and on to rescan.

BUTTONS & INDICATORS

Know what each light means.

Match the color with whether the light is blinking, solid or off.

Broadcast status

Orange · blinking
Scanning or switching
Orange · solid
Joined an Auracast broadcast

Battery indicator

Red · blinking
Low battery
White · blinking
Charging
Light off
Fully charged

Quick specifications

Range
Up to 328 ft / 100 m
Playtime
Up to 16 hours
Charging
USB-C, 5 V / 1–2.4 A
Audio output
3.5 mm wired headphones, neckloop or powered speaker

FIRMWARE UPDATE

Update AuraClip when a fix or feature requires it.

Not part of normal setup. Update only when Avantree Support recommends it or a troubleshooting guide directs you here.

  1. 1
    Download Avantree UpdaterChoose the version for your Windows PC or Mac.
  2. 2
    Connect AuraClip to your computerUse the included USB data cable. A charge-only cable cannot transfer the update.
  3. 3
    Run the updateKeep AuraClip connected until the updater confirms completion, then restart it.

During the update: do not unplug AuraClip, close the updater or turn off the computer.

STILL NEED HELP?

Get the right help for AuraClip.

Select AuraClip / RC240 and include the LED state, headphones used, whether an open broadcast was available nearby and what happened after restarting.

DON'T WANT TO SUBMIT A TICKET?

Talk to a real support agent.


Was this helpful?